
Choosing the right flat roof material is crucial for any DIY enthusiast looking to enhance their home. It’s not just about aesthetics; the material you select can significantly impact the durability and functionality of your roof.
When embarking on a DIY flat roof installation project, it’s essential to understand the wide array of materials available and their respective benefits. This knowledge can distinguish between a successful home improvement venture and a costly misstep. Each flat roof material offers unique advantages, from traditional options like bitumen-based materials to modern alternatives like PVC membranes. Your choice will depend on factors such as climate, budget, and the specific needs of your property.
Stay tuned as we discuss the world of flat roof materials. Whether you’re a seasoned DIYer or a beginner, this blog will provide valuable insights and practical tips to help you navigate the complexities of flat roof installation. With the right information and approach, you can confidently tackle this project and achieve a result that looks great and stands the test of time.
Understanding Flat Roof Materials
Types of Flat Roof Materials
There are several flat roof materials, each with unique properties and applications. The most common ones include:
- Built-Up Roof (BUR): This traditional option involves layers of tar and gravel. It’s known for its durability and affordability.
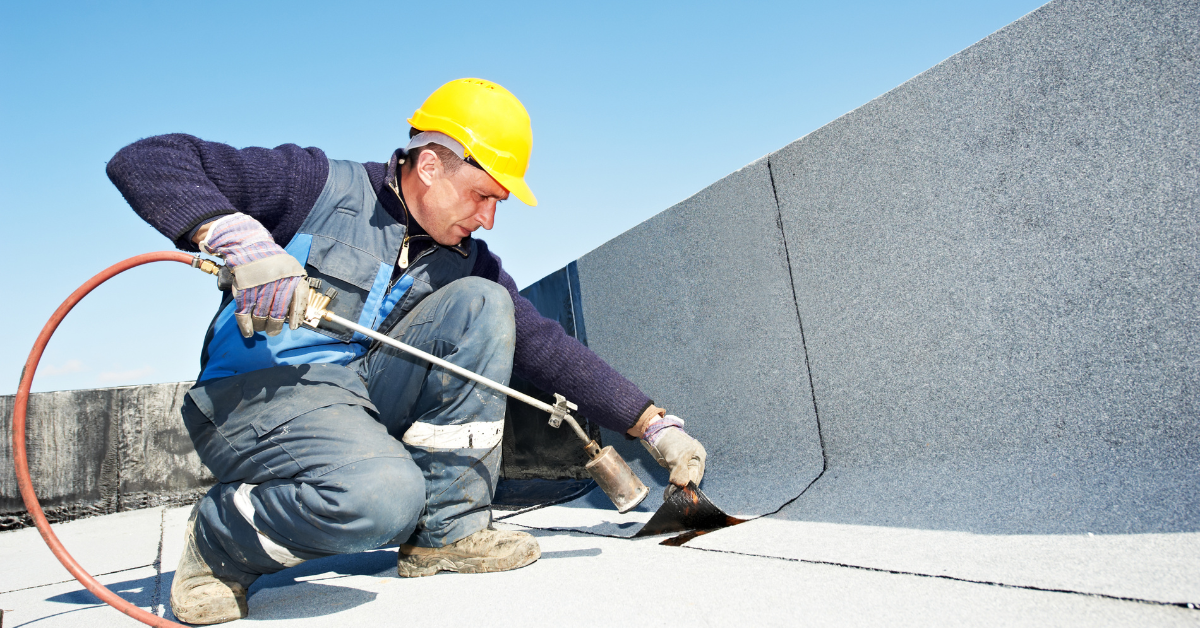
- Modified Bitumen: A modern take on BUR, modified bitumen features layers of asphalt reinforced with fiberglass or polyester. It’s easier to install and offers improved flexibility.
- Rubber Membrane (EPDM): Durable, lightweight, and resistant to sunlight, EPDM is a synthetic rubber material that’s easy to install and repair.
- Thermoplastic Olefin (TPO) and PVC: These are lightweight, heat-reflective, and highly resistant to UV rays, chemicals, and punctures. Ideal for energy efficiency.
Each material has strengths and weaknesses, so your choice should be based on your needs, climate, and budget.
Factors to Consider When Choosing a Material
When selecting a flat roof material, consider:
- Durability: How long will the material last under your specific climate conditions?
- Maintenance: How much upkeep does the material require?
- Installation: Some materials are more DIY-friendly than others.
- Cost: Balance upfront costs with long-term value and maintenance expenses.
Preparing for Installation
Tools and Materials Needed
Before beginning your installation, gather the necessary tools and materials. This typically includes:
- Safety equipment (gloves, goggles, harness)
- Measuring tape and chalk line
- Utility knife and straight-edge
- Adhesive and sealant
- Material-specific tools (e.g., heat gun for TPO/PVC, roller for EPDM)
Safety Precautions and Preparation Steps
Safety is most important when working on a roof. Here’s how to prepare:
- Wear proper safety gear: Wear gloves, non-slip shoes, and safety goggles.
- Secure your working area: Use a harness and ensure the roof is stable.
- Clean the roof surface: Remove debris, dust, or old roofing material.
- Inspect the roof structure: Look for any signs of damage or wear that may need repair before installation.
Step-by-Step Guide to Flat Roof Material Installation
Preparing the Roof Surface
- Clean the Surface: Ensure the roof is free of debris, dust, and old materials.
- Check for Damages: Repair any cracks or damage in the roof decking.
- Apply Primer: If required, apply a primer to the roof surface for better adhesion.
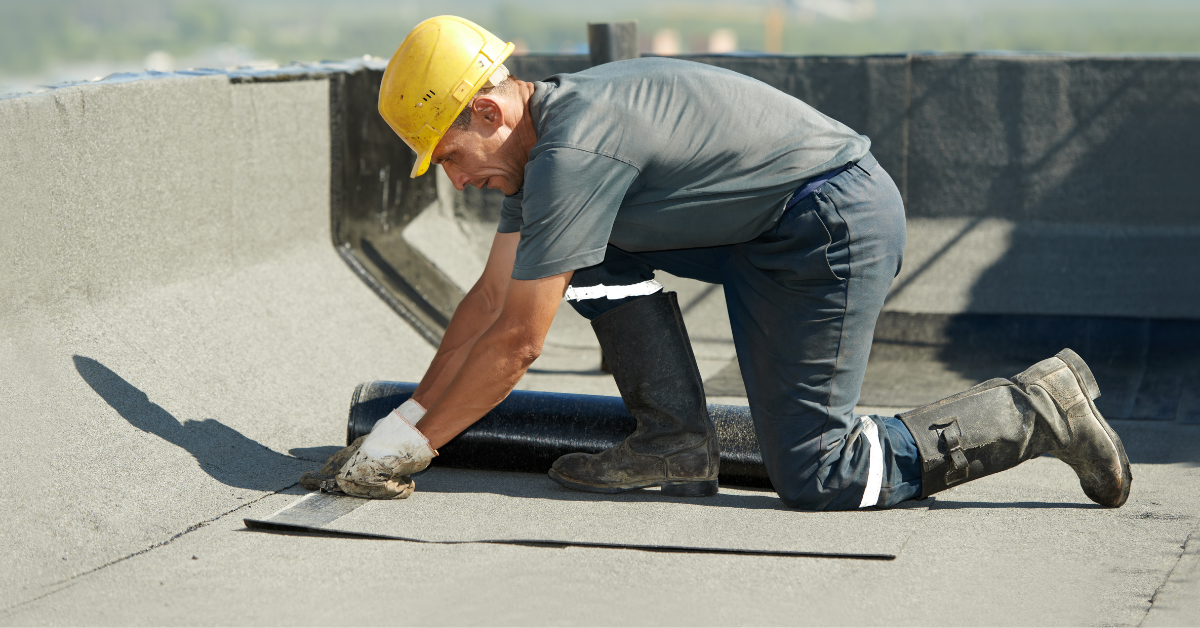
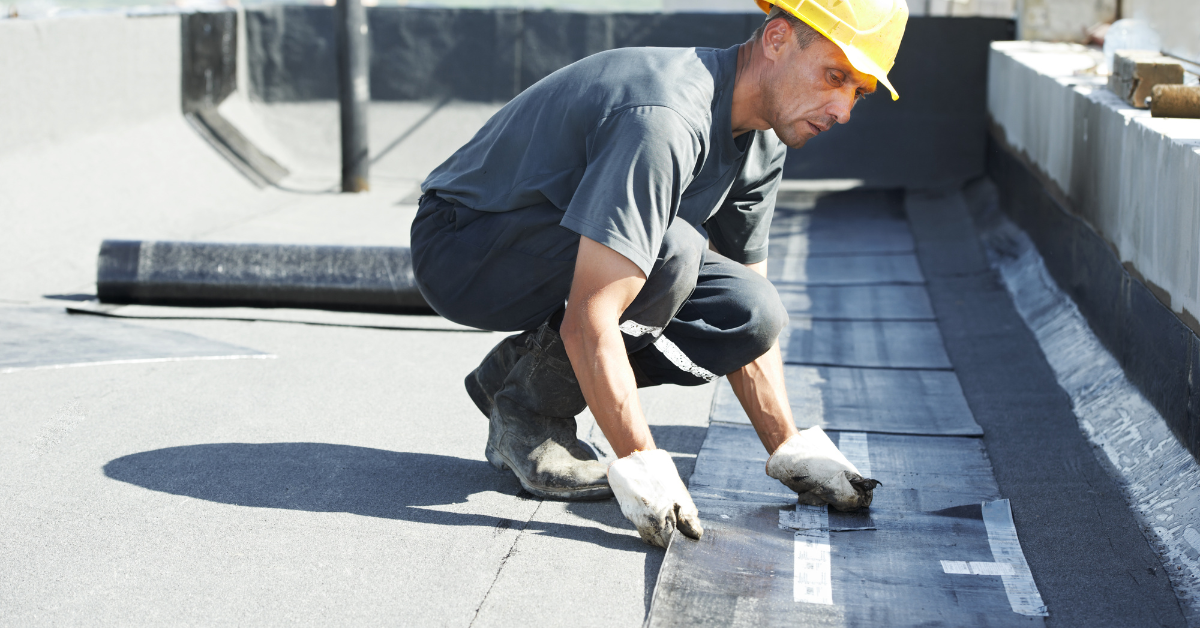
Laying Down the Material
- Measure and Cut: Measure the roof and cut the material to fit, allowing for overlap.
- Positioning: Roll out the material carefully, ensuring it’s straight and aligned.
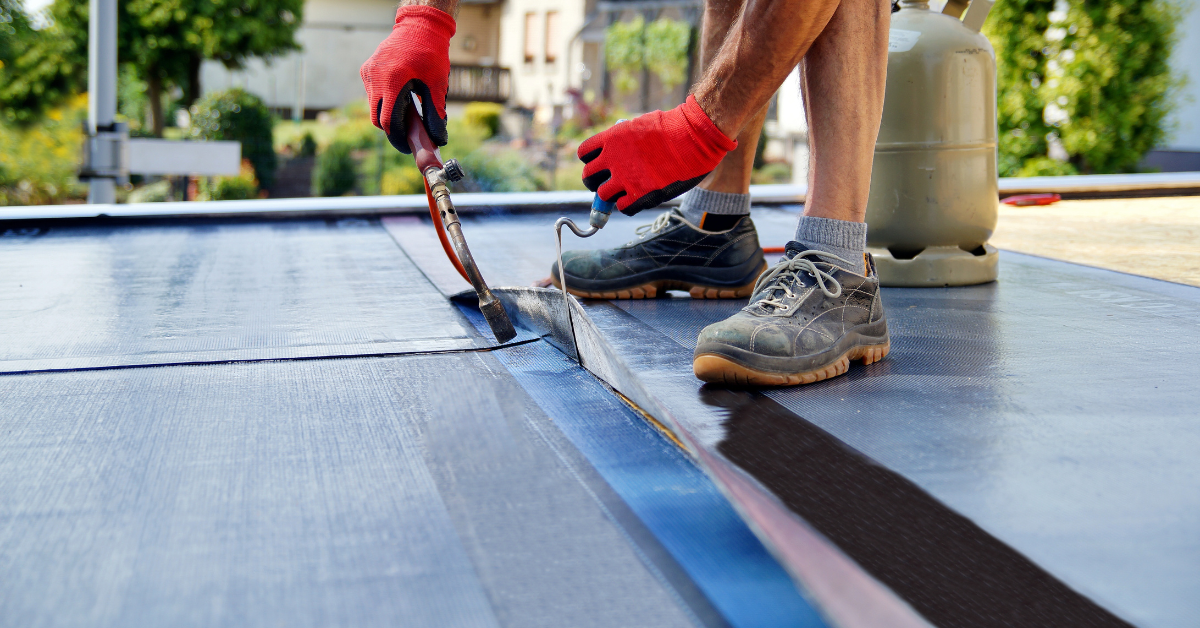
- Adhering the Material: Depending on the material, use the appropriate adhesive or heat welding to secure it in place.
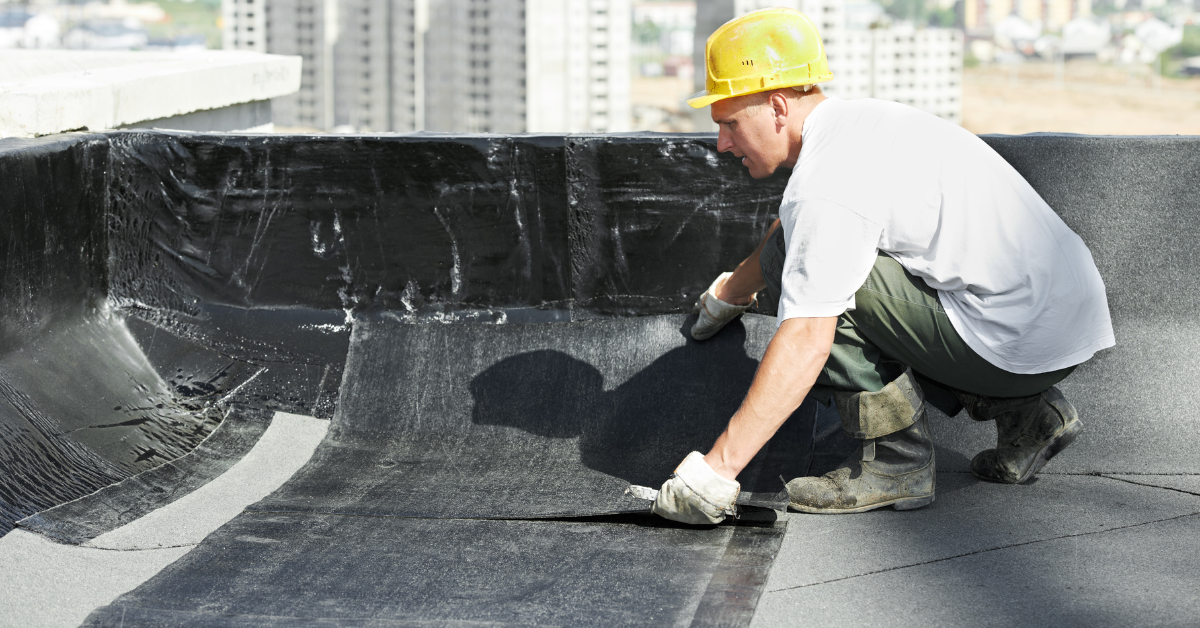
Sealing and Finishing
- Seal the Edges: Apply sealant along the edges and where different material sheets overlap.
- Inspect for Gaps: Ensure no gaps or unsealed areas where water could penetrate.
Common Mistakes to Avoid
Installation Errors
- Ignoring Manufacturer Instructions: Always follow the specific guidelines for your chosen material.
- Poor Seam Work: Inadequate sealing of seams can lead to leaks and water damage.
- Incorrect Overlapping: Ensure the material overlaps correctly to prevent water ingress.
Safety and Preparation Oversights
- Neglecting Safety Precautions: Always prioritize safety with proper gear and practices.
- Inadequate Surface Preparation: Not cleaning or repairing the roof surface can compromise the installation.
Maintaining Your Flat Roof
Routine Checks and Cleaning
- Regular Inspections: Check your roof bi-annually for any signs of wear or damage.
- Keep it Clean: Remove debris, leaves, and other materials that can accumulate on the roof.
Addressing Repairs Promptly
- Prompt Repairs: Address any damage or wear immediately to prevent further issues.
- Professional Help: Don’t hesitate to contact professional services like Molina Roofing for major issues or doubts.
Conclusion
Installing your flat roof material is a rewarding DIY project that can significantly enhance your home’s functionality and aesthetic. You’re well on completing this task by carefully selecting the right material, preparing thoroughly, and following the step-by-step installation guide. Remember, avoiding common mistakes is crucial for a long-lasting and effective roof.
But even the most skilled DIY enthusiasts can encounter challenges. If you need expert advice or professional services, don’t hesitate to contact Molina Roofing Services. Our experienced professionals are ready to assist you with any aspect of your roofing project, from selecting materials to handling complex installations. They ensure your roofing project is handled with the utmost care and professionalism, whether a simple consultation or a full installation service.